SealInspector - fully automated testing system for polymer sealing rings

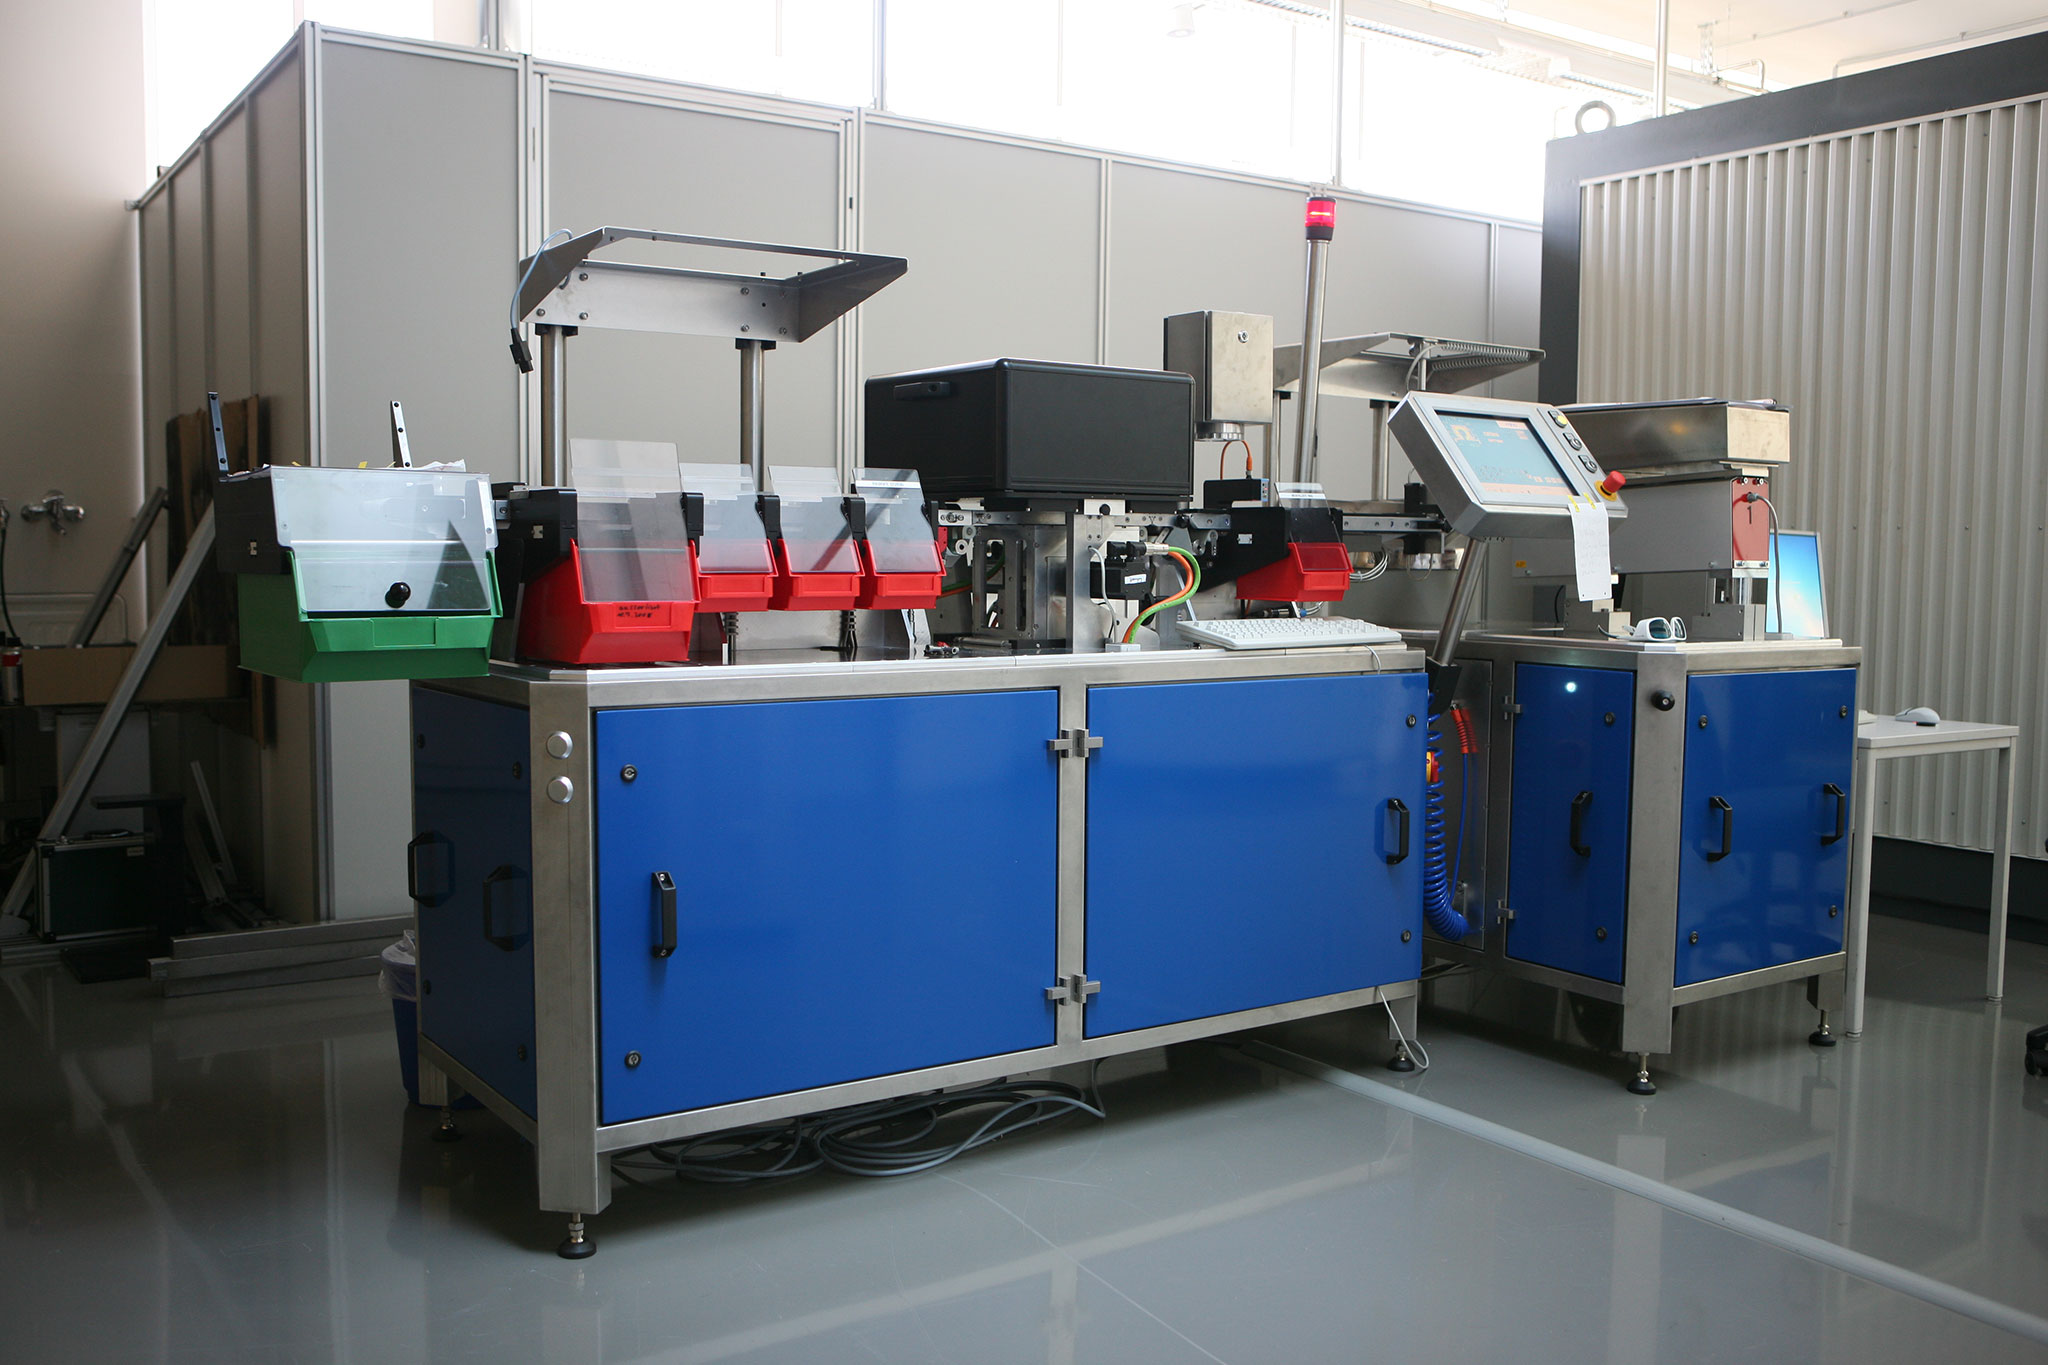
Anlage für die Prüfung von Dichtringen
© Fraunhofer IIS
Automatic system for fast and accurate surface inspection of sealing rings
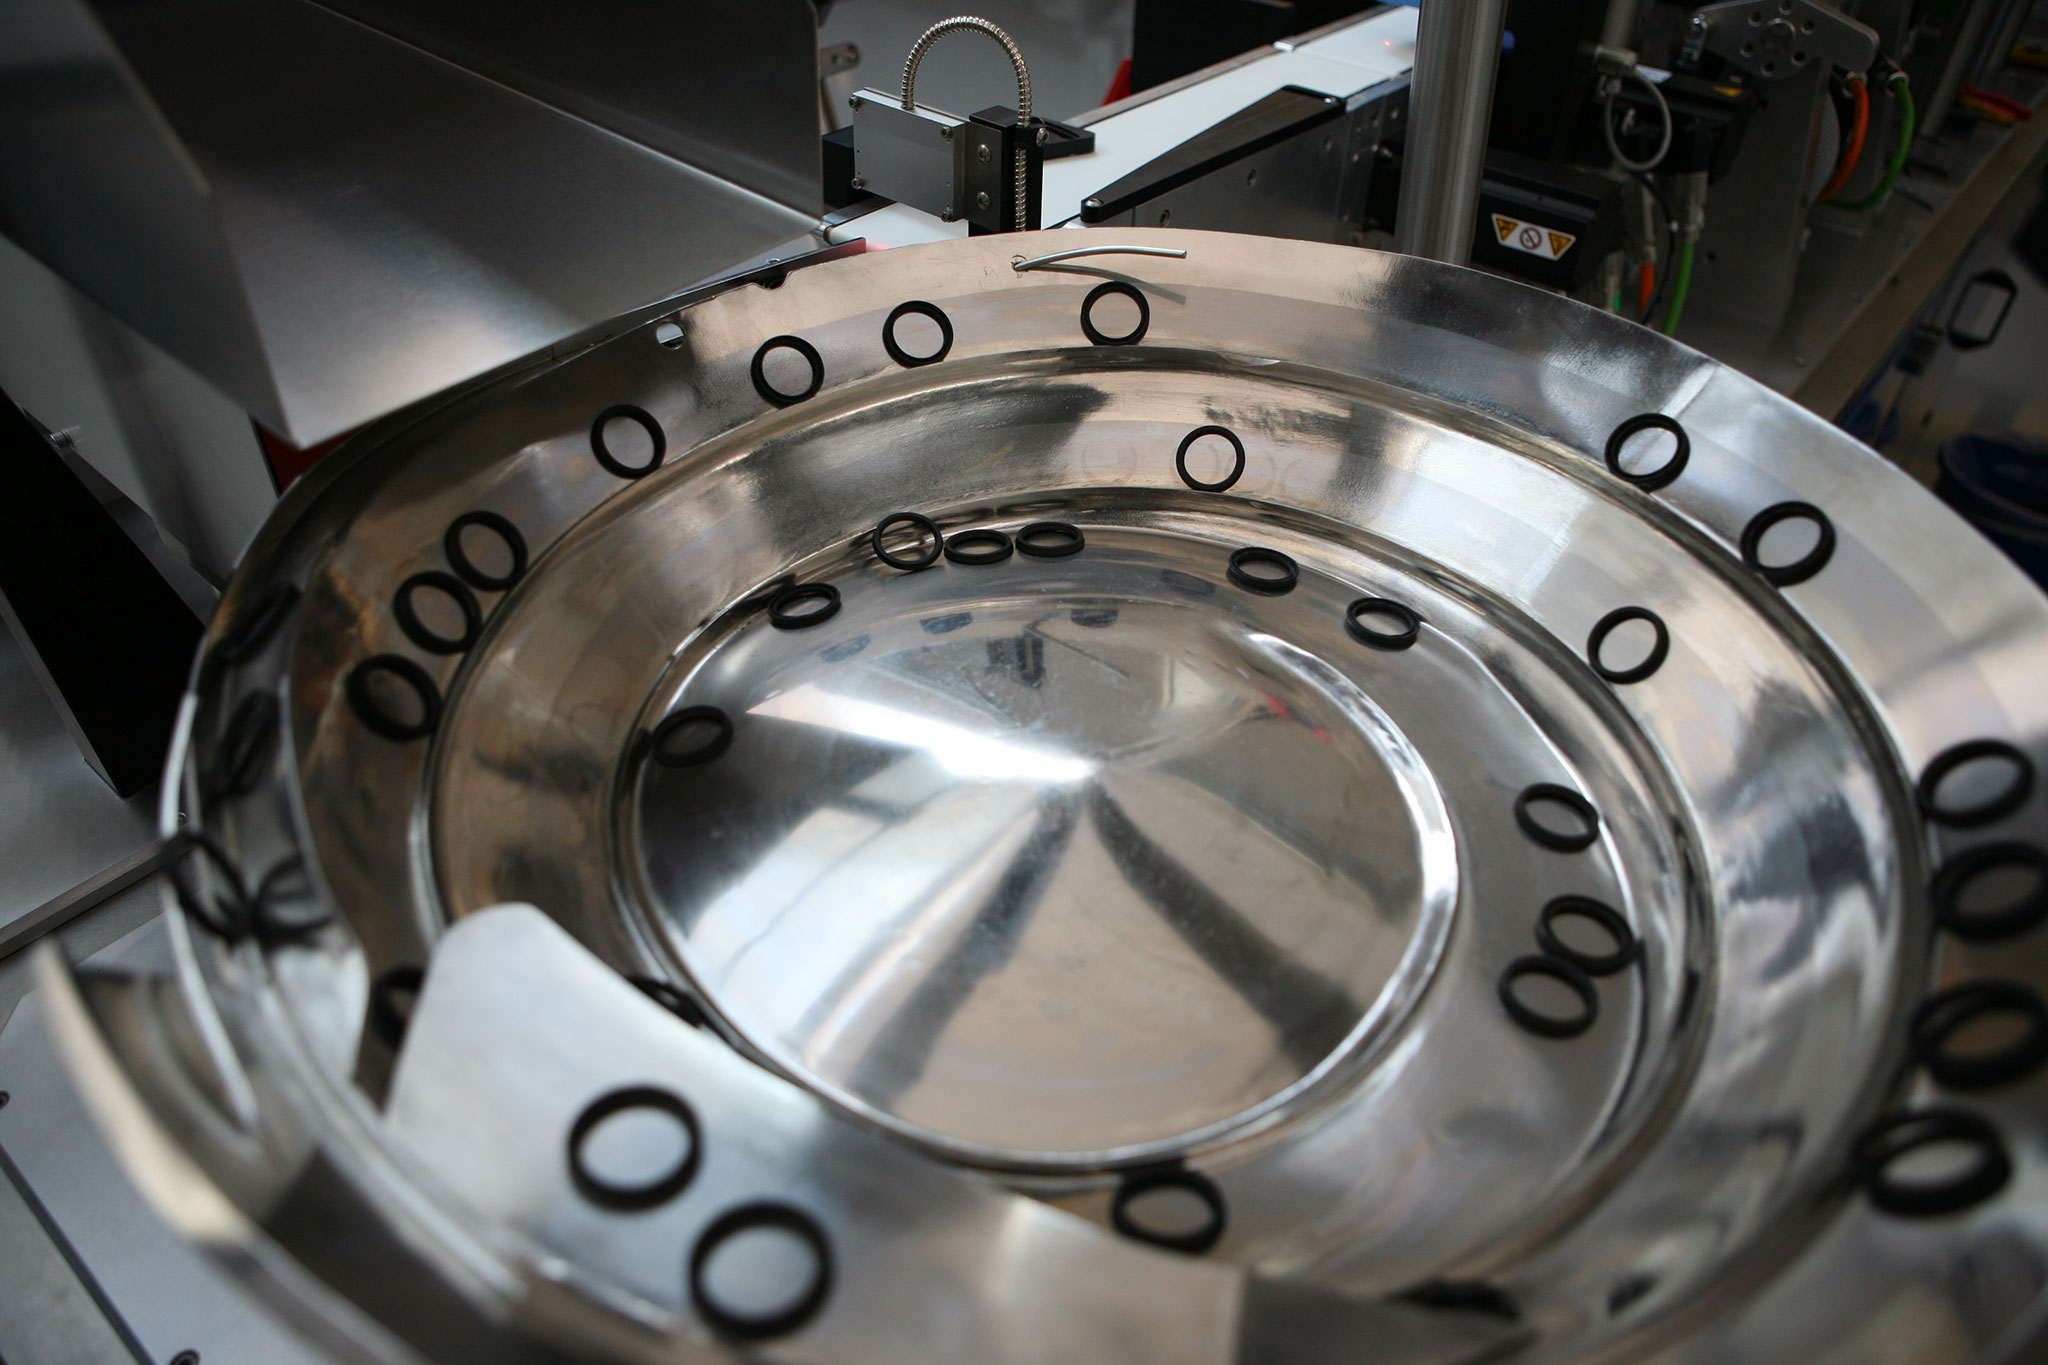
Dichtringe gleichmäßig auf einem Vibrationsförderer verteilt
© Fraunhofer IIS
A vibration conveyor separates the loose parts and conducts them to the belt conveyor in a specified order.

Polymer sealing rings play an important role in many areas of our lives, above all in vehicles. Typically, they are manufactured in an injection-molding or die-casting process. Because the material is injected into the mold from several injection points, if one of them is clogged, the material from the adjacent injection points must flow into this section of the mold. This creates a risk that a defect could occur which might be difficult to detect. Inhomogeneities in the material can also lead to problems in its use. Up to now, complex sealing rings have only been tested in manual inspections. Arguments against manual inspection are, for example, complex handling, enormous inspection quantities and long inspection times. The most efficient solution for inspecting mass-produced items is without question a fully automated testing system that is customized for the inspection task. This is the only way to assure quality in a reliable manner while taking economic aspects into consideration. SealInspector, a new, fully automated testing system, helps detect errors and provides an alternative to manual testing, which is complex and unsafe.

The system was developed in close cooperation between Fraunhofer EZRT and a system provider. The system components are arranged along a central conveyor where the sealing rings are transported. First, a vibration conveyor separates the rings, as bulk material, and places them onto a belt conveyor so that the same side is always facing up. Then the surface of the sealing rings is scanned and recorded from all sides. After the data collected in this manner is analyzed, potentially defective sealing rings are removed from the production flow with compressed air and collected in containers for a possible follow-up inspection. The sealing rings that pass all of the inspections are collected in a container at the end of the belt conveyor.

The centerpiece of the testing system consists of a high-resolution measuring unit and evaluation software developed especially for this application. The measuring unit scans the surface of the sealing rings by projecting several laser lines onto the various sides of each sealing ring. These laser lines trace the surface paths. These deformed lines are recorded with a camera at an angle, which allows the surface paths at this point to be reconstructed. When the sealing ring moves through the laser line, numerous surface profiles are generated that, with the right coverage, form the starting point for the reconstruction of the surface and the foundation for the subsequent evaluation.

From this measurement data, the evaluation software reconstructs the entire surface in three dimensions and subjects each sealing surface to its own evaluation in which the height and the path of the sealing lips are calculated and surface irregularities are identified, measured and analyzed. In this step, the software detects anomalies caused by cracks, flow errors or hardened rubber down to a size of some 10 µm. The injection points found on the back side of the sealing ring are also measured because they cannot be prevented in the manufacturing process and their height varies. If one of the injection points is too high or too low, the sealing ring is classified as defective. The results are displayed on a graphic user interface at process speed and can be examined in detail as needed.

Using software instead of manual testing allows extensive statistics to be gathered based on measurement data and offers quality assurance specialists the option to examine defective parts discovered in the material flow more closely, to analyze individual test specimens more intensively and to optimize the current manufacturing process.

Initial testing systems based on this system concept have been integrated successfully into the production area. The measurement principle used here opens up a wide range of possible applications that can be used wherever rapid, high-resolution surface testing is necessary.


Other products that also use light section technology:

TireChecker

Testing system for finished tires

SpliceChecker

Testing systems for tire construction